15

By: Harry Lee
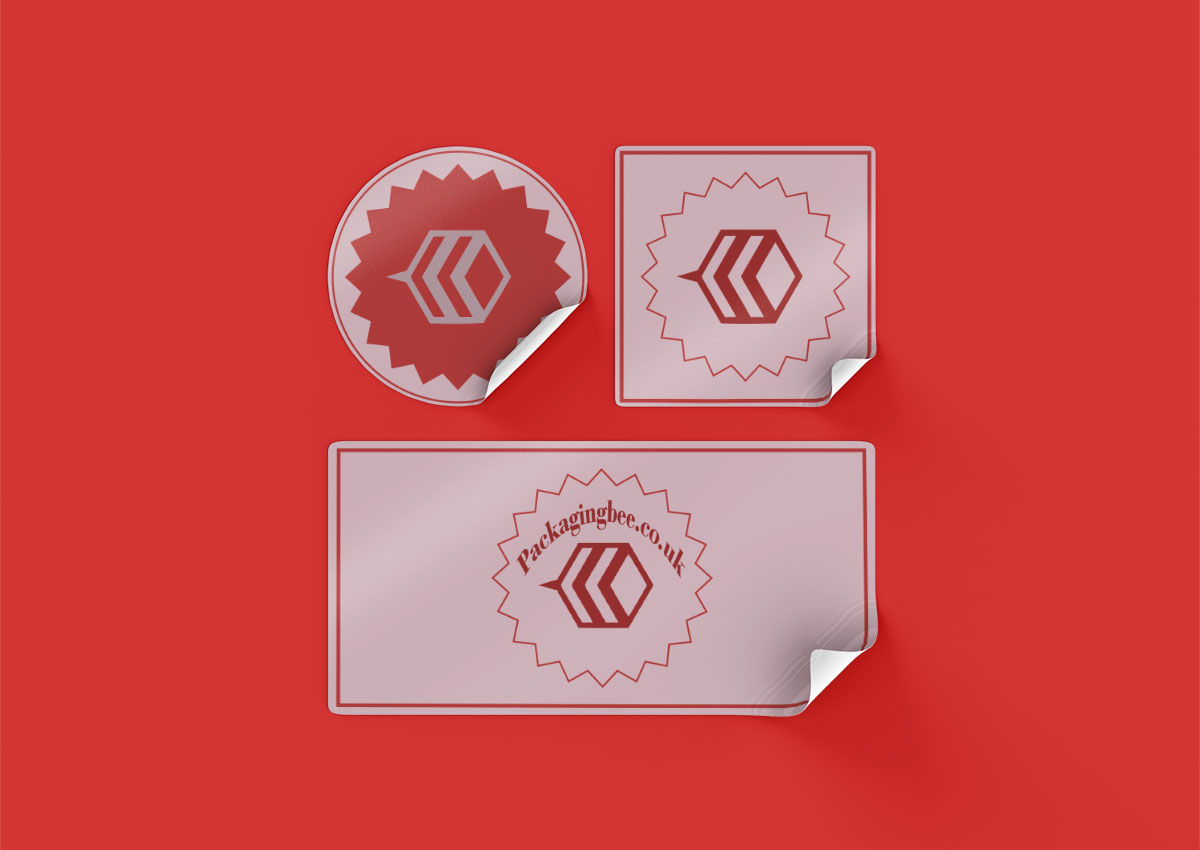
Needless to say, creating well-designed custom printed sticky labels that function in the best possible way is super important. However, creating and designing is another part but applying one ideally is also an important task you need to take care of.
Though you have hired one of the best sticker designers on the globe and created a label that fetches the attention of any passer—however, if you haven’t applied it correctly, all that sleepless nights and hard-earned money is in vain.
Favourably, applying a perfect label with ideal visibility isn’t that hard.
Nonetheless, there are a few things, and knowing them would make it even easier. Otherwise, you may make a costly mistake. Alos, remember, the slightest mistake can affect your brand’s image and descend your sales.
In this post, we will introduce our readers to 5 oversimplified steps of applying perfect sticky labels. These steps are conjured by people with years of experience in the print industry; honestly, these steps are pretty foolproof.
Before diving into those steps, let’s talk a bit about two different methods of applying custom printed sticky labels.
Applying Printed Sticky Labels by Hand Vs. By Machine.
Imperative, there are ways for you to apply labels, either by hand or by machinery. The cost of both methods may differ based on the requirements of your project.
Anyhow, both methods come with their superiorities and complexities. To simplify, here are some things you need to know before settling the applying order.
What Is the Cheaper Way?
Certainly, using labels by hand can save many machinery and labour costs (if you are applying yourself). Nonetheless, here, you may be trading a lot of precious time for just a few extra nickers.
So if you are looking up to save money, get your stickers labelled in a matter of few hours with auto label applying machines.

Also, there are more chances of incorrect labelling by hand just because of natural human error. And again, you end up buying more labels, costing you more money. On the contrary, auto machines hard give you a chance to complain.
Can You Repaste Small Custom Printed Sticky Labels?
Well, you can repaste the label if you are applying labels by hand and if you are using reusable adhesives.
However, you get only a certain amount of time to reposition it by using a re-adjustable adhesive. In such time you can remove several errors and make your campaign seem perfect.
Apparently, in the end, it’s entirely your choice.
Now let’s talk about those labelling steps that you all have been waiting for.
5 Steps to Apply Any Sticky Address Labels
Step #1 Where do you want your round sticky label?
Regardless of what method you chose to apply your stickers, you still have to decide on a place.
Preferably, look for a flat surface for the best results.
Flat surfaces allow labels to stick appropriately without any bumps, crevices or imperfections. However, you may not always get the best spot for your A4 sticky labels.
Step #2 Prepare the surface for A4 sticky labels
If the surface has some moisture on it, you may struggle while pasting your labels. Before getting on, clean the surface and check if there is any dirt or debris. Small dust particles can act as a wall between the adhesive and the surface.
You can easily find any professional wipes for labels at your nearest grocery store. Experts recommend a cleaner with IPA(Isopropyl alcohol) to prepare the surface for labels.

IPA comes with distinctive cleaning properties helping to treat any kind of grease, grime, or oil stains. IPA evaporates quickly, leaving a clean surface ready to hold labels for years.
However, make sure the IPA doesn’t react with the surface you chose; read the caution part before using IPA.
Step #3 Get the right temperature.
Not many know that there is an appropriate temperature of labels. Too hot or too cold sticky labels may show some problems during adhesion.
So, wait for the labels to reach average room temperature. Once they feel ambient enough, they will give the best adhesive experience.
However, you can get rid of this step by using adhesives suitable for temperature variations.
Till here, all three steps are similar for either applying methods. Where the machine labelling takes another road from here.
Step #4 The Final Part
Without any doubt, this is the core step of applying stickers by hand. So, here is the drill: peel one small side of your label and use the sticky side onto the surface.
Now, firmly press the label from the above, so there are no bubbles in it.
Afterwards, start sliding the backing of the label while press and slide the upper part. And there, you have a perfectly labelled sticker.
It is all a matter of precision.
Step #5 Wait for white custom sticky labels to cure
Once you stick your label evenly without any bumps, your work here is done. These custom sticky labels require patience as well.
After applying the label, leave it for at least 48 to 72 hours. Give it some natural temperature, and the adhesive will form a strong bond with the surface. Now your label sticker is ready to market your product or service for a long time until someone peels it off.
Was Our Blog Helpful?
These steps are the results of years of experience in the sticker industry. That is why these steps will work for all types of labels and stickers.
This post wasn’t mean to be a complex step-by-step guide.
Regardless of what method you choose to apply your stickers, these steps will surely help you get better and effective results for your stickers. Moreover, if you are still facing troubles with labelling your stickers perfectly, you can call us at Packaging Bee and talk to our experts about what is wrong with the process you are using. Or there could also be some issues with the labels that you haven’t bought from us. Whereas we also offer brands with re-adjustable abilities. With our sticky labels, you can get rid of any imperfection and stick it again n again till you get satisfactory results.


